
The truth is, chairs aren't meant to be lifelong companions. Sooner or later, you'll need to take one apart. Maybe you're moving house. Maybe your chair's squeaky base has finally pushed you over the edge. Whatever the reason, learning how to disassemble an office chair is a trick every savvy worker should know.
From simple task seats to plush ergonomic thrones, this guide will walk you through it all without techy jargon or wrench-wielding frustration.

Why Take Your Chair Apart Anyway?
A lot can go wrong with even the fanciest office chairs. Bolts loosen. Levers jam. Wheels break. And when the chair's ready for the tip-or a trip-it's better in pieces.
Maybe you want to store it. Maybe you're swapping parts. Or perhaps you've got your eye on something slick, like a Sidiz.
No matter the reason, understanding how to disassemble office chairs is a useful bit of modern magic.
Before You Start, Grab These Tools
Don't worry-you won't need a full toolkit. Just a few everyday items and a cool head:
Allen keys (often included with the chair)
- Screwdrivers-flat and Phillips
- Adjustable wrench
- Rubber mallet (gentle persuasion only)
- Pliers for stubborn bits
- WD-40 or similar lubricant
- Ziplock bags for tiny pieces
- A soft towel or mat to protect your floor
Still breathing? Great. Let's get cracking.
The Basics: Taking Apart a Task Chair
Your average task chair is simple and lightweight. Usually, there's a seat, a backrest, wheels, and a lift mechanism. Here's how to take it down.
1. Flip it over like a turtle
Gently lay the chair on its back. This gives you full access to the wheel base and under-seat hardware.
2. Yank off the wheels
Hold a wheel. Pull straight out. If it resists, slide in a flathead screwdriver and wiggle it loose. No need to Hulk-smash.
3. Remove the base
Place a towel on the floor. Tap the centre of the five-point base with your mallet. The base should pop right off the gas cylinder.
4. Tackle the gas lift
Using a pipe wrench, twist the cylinder loose from the seat mechanism. Take care-this part's under pressure. Never hammer or puncture it.
5. Separate the back and arms
Most task chairs have bolts connecting the backrest and armrests to the seat. Undo them with an Allen key or screwdriver. That's it!
You now have a disassembled office chair, ready for a move, an upgrade, or the bin.
Getting Into the Mid-Back Chairs
Mid-back chairs are a step up. They're built for comfort-but they come with more parts to wrangle.
You'll see things like tilt levers, fixed arms, lumbar support, and extra screws. No dramas, here's how to tackle them.
1. Follow the task chair steps above
Wheels, base, and gas lift come off the same way. Flip it, yank it, twist it. Easy as.
2. Remove the tilt plate
Under the seat, you'll find the tilt mechanism-a chunky steel plate with one or two levers. Unscrew it with a Phillips head screwdriver.
3. Take off the lumbar support
Some chairs have a plastic lumbar bracket. Others use a foam pad clipped in place. Locate the screws or tabs and remove gently.
4. Disassemble the armrests
Check beneath the seat for screws. Adjustable arms may have hidden bolts near the pivot. Keep everything labelled so you remember what goes where.
Before you know it, your mid-back chair is in five parts and ready for whatever comes next.
The Big Leagues: Disassembling Ergonomic Chairs
Now let's talk ergonomic chairs, a.k.a. the Ferraris of the seating world. Sleek, adjustable, and designed for your spine's every mood.
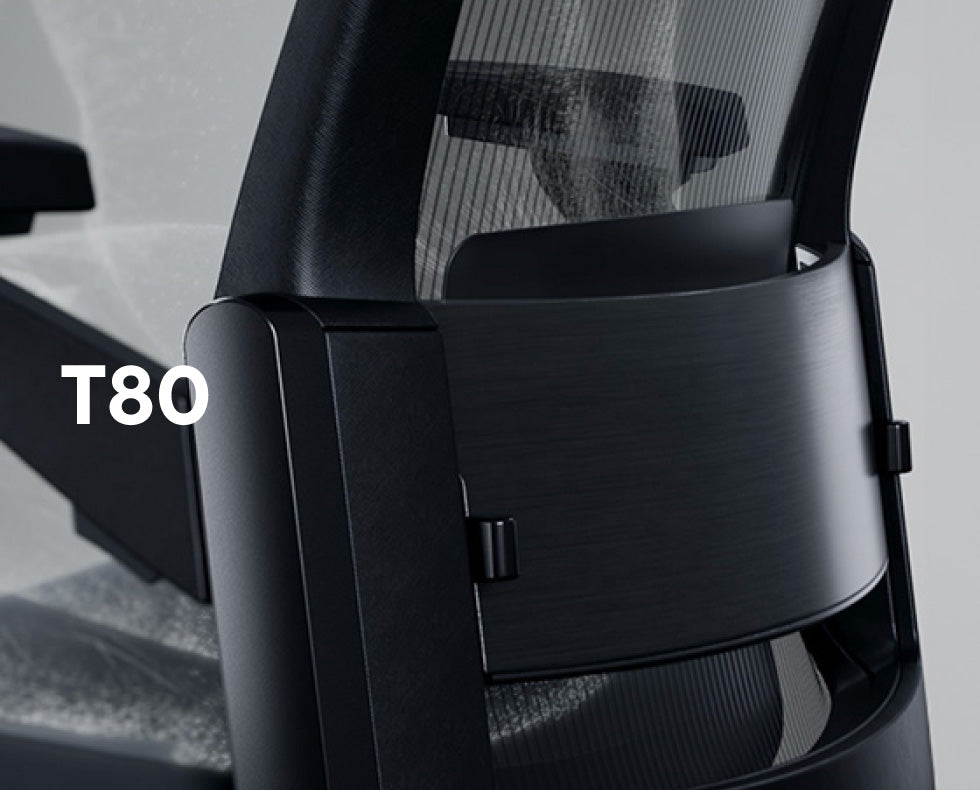
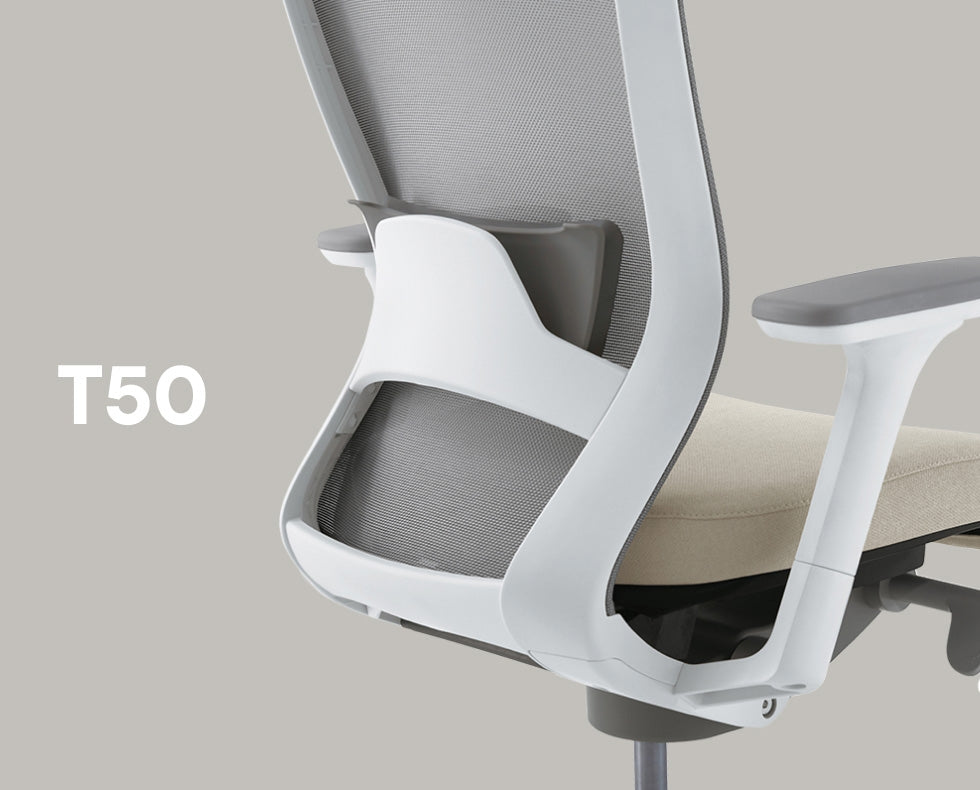
They're more complex, sure. But don't be intimidated. Whether it's a Sidiz or something similar, you've got this.
1. Begin as usual
Remove wheels and the base. Tap the gas lift loose. Lay parts aside on a mat or towel.
2. Look for hidden fasteners
Ergonomic chairs often hide screws under trim caps or within sliding mechanisms. Slide panels gently to reveal bolts and remove them with care.
3. Detach the seat from the back
On most models, you'll find two or four bolts joining seat to backrest. Use a wrench or Allen key to undo them evenly.
4. Unclip complex armrests
Ergonomic chairs often have 3D or 4D adjustable arms. These may be bolted underneath or locked in with latches. Don't force anything-wiggle and explore.
5. Watch out for tension systems
Some ergonomic chairs include a tilt tension spring or lumbar dial. These are best removed last, and only if truly needed. Avoid opening sealed components.
Once everything's apart, keep each section in its own container. Wrap delicate mesh or cushions in towels or bubble wrap.
Two Words: Stay Organised
Label everything. Use masking tape and a marker. Write “left armrest” or “tilt screw” clearly. It'll save your sanity when you're putting the beast back together.
Take photos as you go. They're your best mates during reassembly.
Trust us, future you will thank current you.
When It Gets Tricky
Not all chairs want to come apart quietly. Here's what to do when things get stubborn.
Wheels won't budge?
Spray some WD-40 into the wheel socket. Wait ten minutes, then try again with a firm pull or twist.
Gas lift stuck?
Grip it firmly with a pipe wrench. Rotate gently while tapping the underside of the seat. Persistence beats brute force.
Missing your manual?
No problem. Brands like Sidiz often offer downloadable PDFs with disassembly guides. Just head to the manufacturer's site and search your model.
How to Reassemble It Without Swearing
Once you've completed your task, you might be wondering how to get it back together. Good news: It's just reverse engineering.
- Refer to your photos and labels.
- Use the same tools, same bolts.
- Don't overtighten screws into plastic.
- Check everything sits straight before tightening fully.
- Test the chair before plonking down dramatically.
Give each part a wipe-down before reassembly. It'll look and feel fresher.
Quick Tips to Keep in Mind
- Always work on a clean, padded surface to avoid scuffs.
- Don't force any part-chair components aren't made for muscle battles.
- Store small parts in bags. Label them. Don't wing it.
- Recycle properly. Metal and plastic parts go in different bins.
- If you're dealing with a high-end ergonomic chair, double-check the brand's guide.
Learning how to disassemble office chair parts properly gives you more than just storage solutions. It teaches you about the gear you use every day.
And for some folks, that's oddly satisfying.
Final Thoughts
Disassembling office chairs is easier than you think. Whether you're clearing space or fixing a fault, a bit of time and a handful of tools will do the job.
Sure, some chairs are tricky. But with patience-and a few Aussie DIY instincts-you can tackle anything from a task chair to a high-end ergonomic masterpiece.
Yes, even a Sidiz. Our user guide may help get the job done.
Now, go and give your chair the farewell (or refresh) it deserves.